
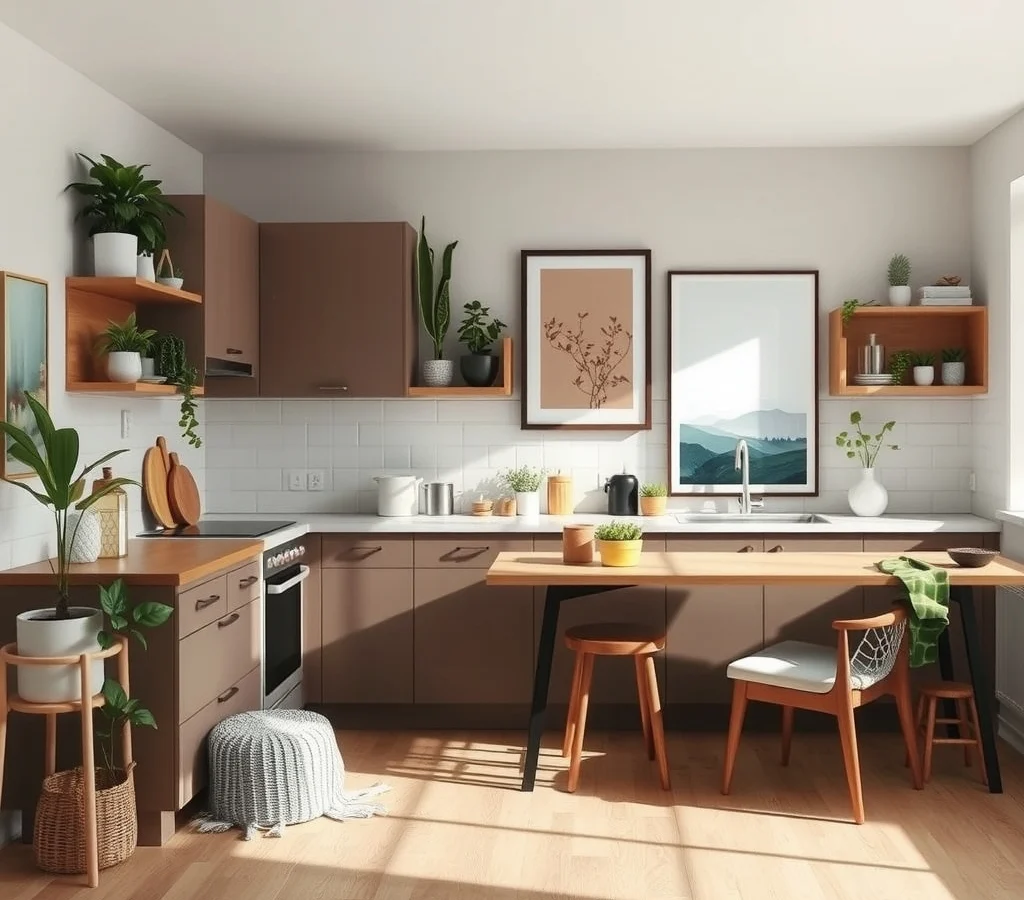
When a kitchen has no flat surface to spread a bowl or a cutting board, the whole cooking routine can feel cramped. The trick is to let walls, ceilings, and movable pieces do the work that a countertop normally would. Below are seven distinct approaches that turn a bare‑bones layout into a functional, inviting place to prepare meals, even when the floor plan offers no permanent counter.
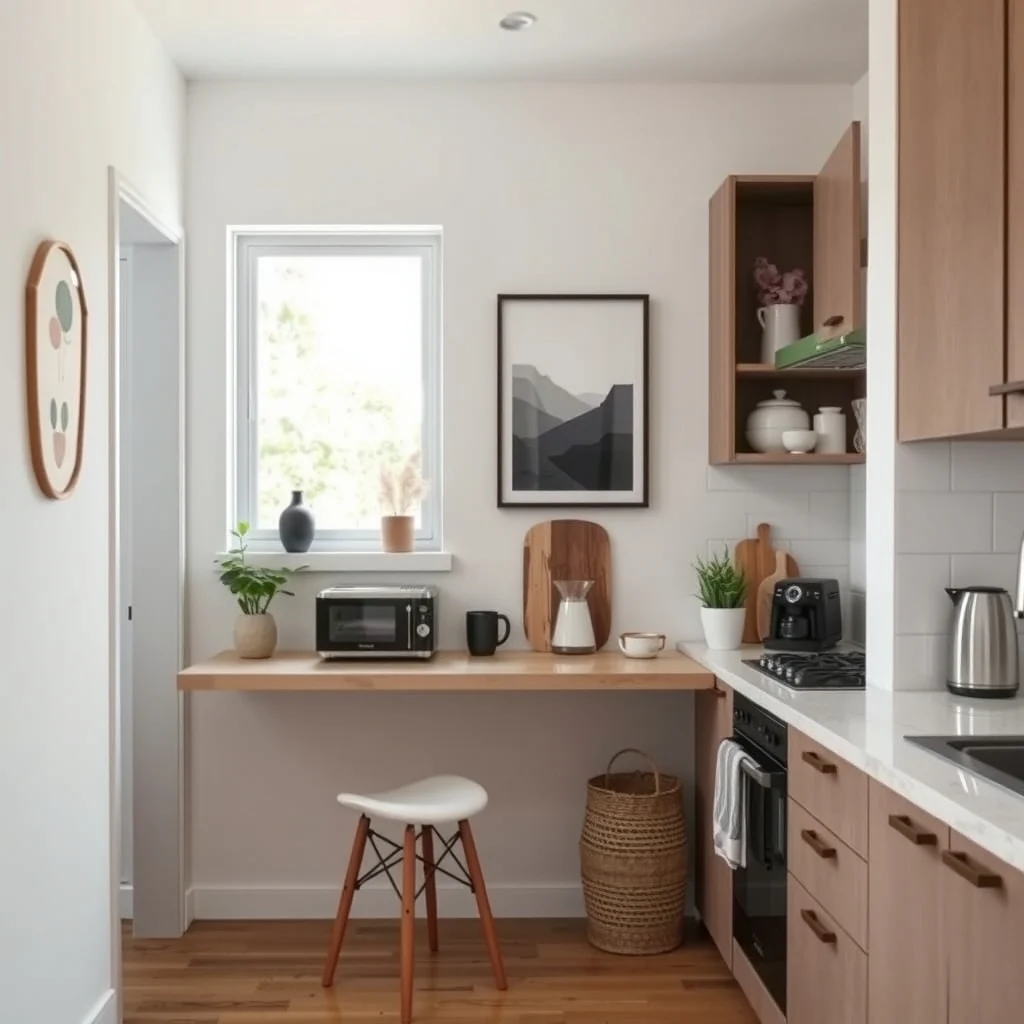
1. Wall‑Mounted Fold‑Down Table with Integrated Storage
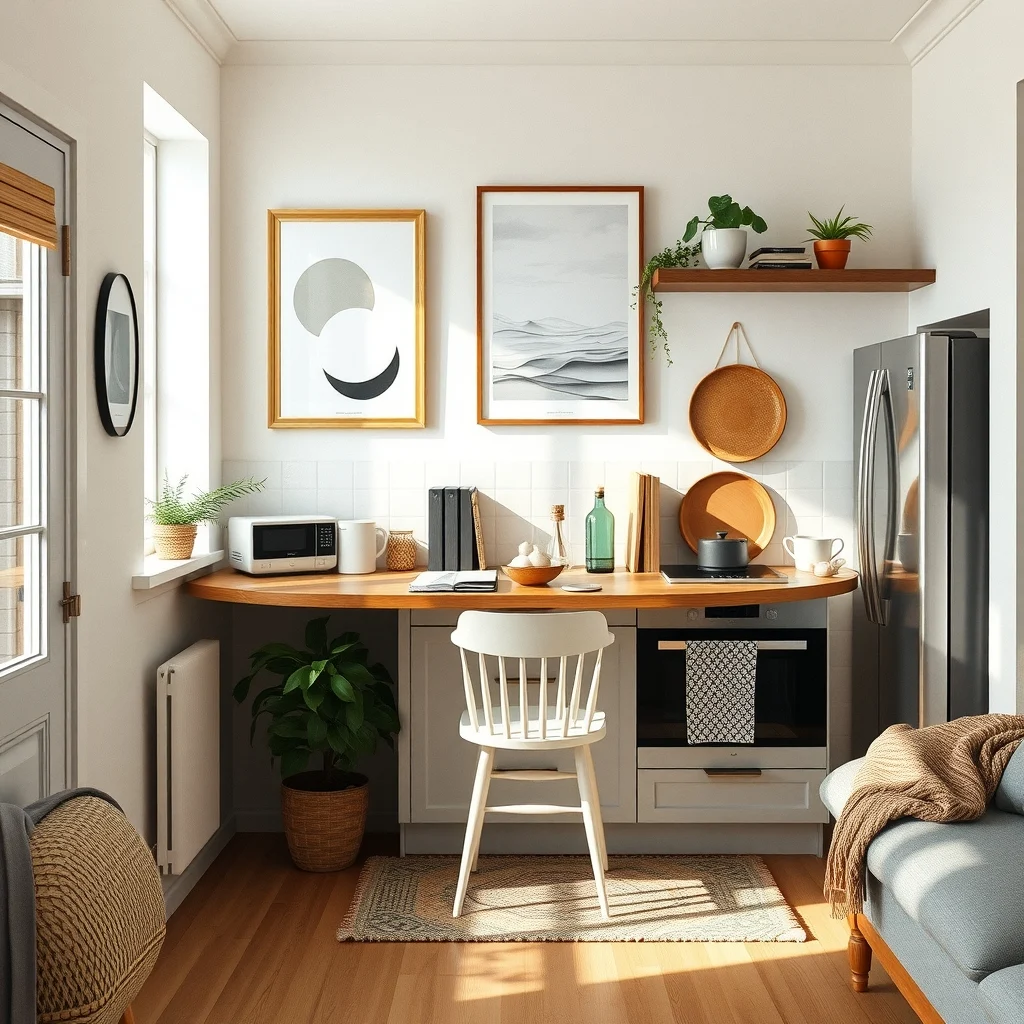
A sturdy fold‑down table attached to a side wall creates a temporary work surface that disappears when not in use. Choose a table depth of about twelve inches; the width can match the wall length or be limited to a comfortable reach. The underside of the tabletop can hide shallow drawers or a set of pull‑out baskets, perfect for knives, cutting boards, and a few everyday utensils. When you fold the table up, the hardware blends with a painted finish, keeping the wall looking sleek.
This solution shines in apartments where the kitchen occupies a narrow hallway. The table can be positioned under a window, allowing natural light to illuminate the prep area. If you need a little more stability, a simple magnetic latch keeps the surface level while you work. For renters, the brackets are easy to remove without leaving marks, and the whole unit can be re‑installed in another room if you move.
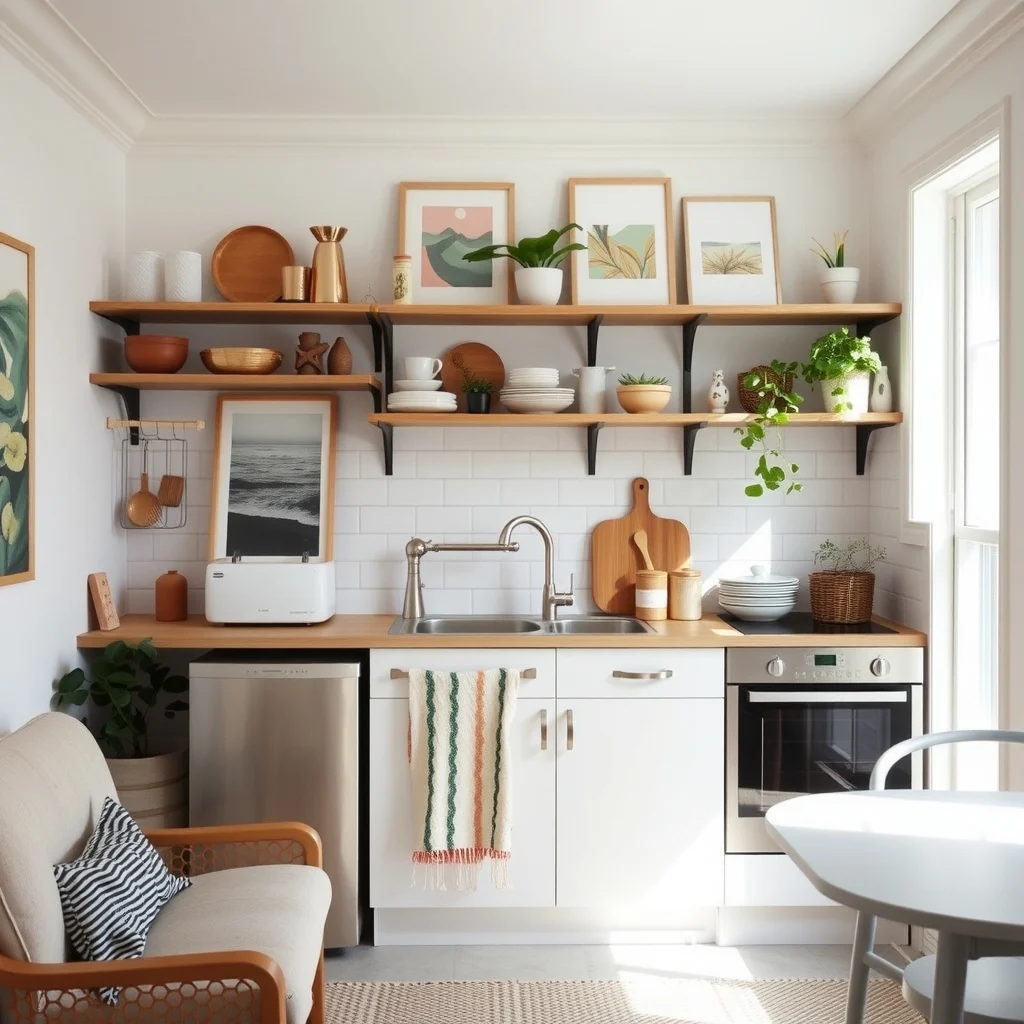
2. Open Shelving Paired with Decorative Baskets and a Magnetic Spice Rack
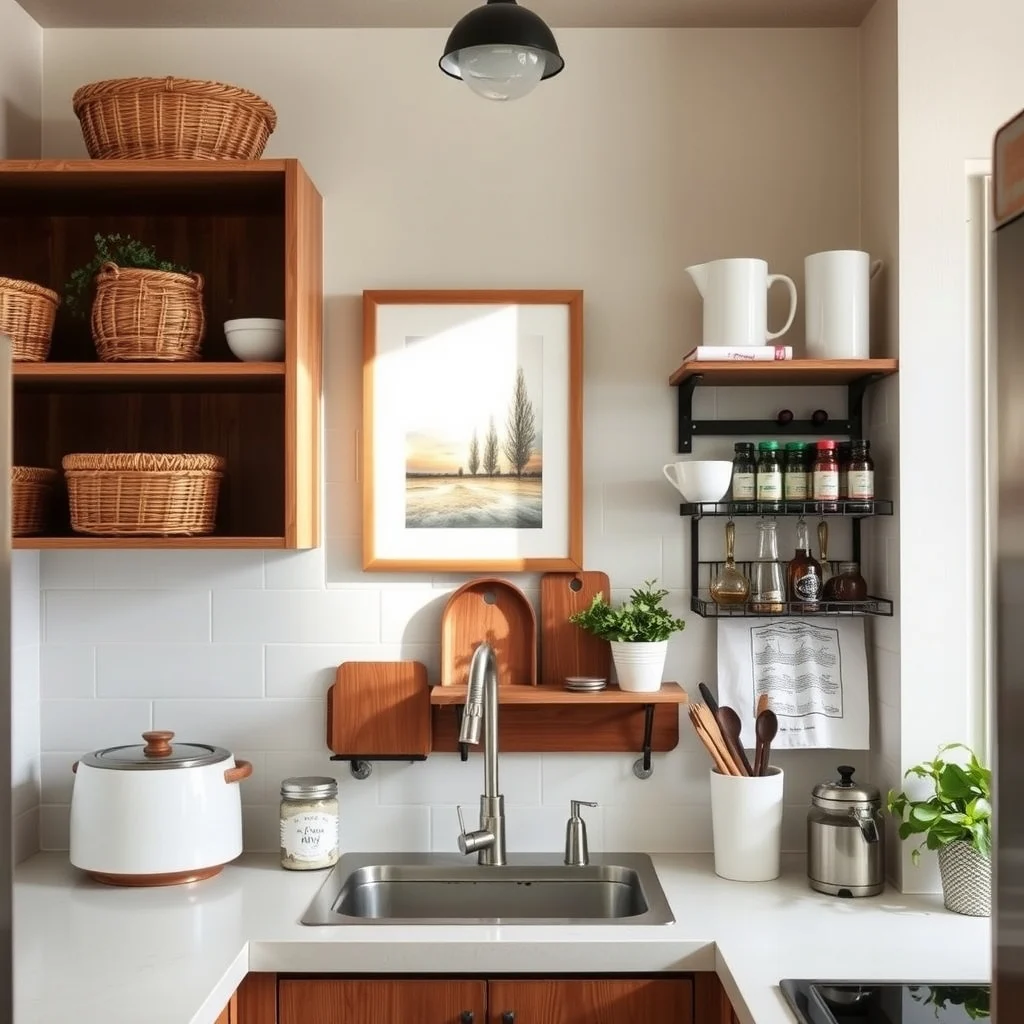
Replacing upper cabinets with open shelves opens the visual space and makes every item visible at a glance. Select reclaimed pine or brushed metal shelves that sit a few inches off the wall; the slight gap adds a sense of airiness. On these shelves, arrange woven baskets of varying sizes to store produce, potatoes, or pantry staples. The baskets soften the hard lines of the shelves while offering easy access.
A magnetic spice rack affixed to the side of the fridge or a metal strip on the wall holds small tins, freeing drawer space and keeping flavors within reach. The combination of natural textures from the baskets and the sleekness of the metal creates a balanced look. If you have a small collection of decorative plates, lean them against the back of a shelf for a curated feel, but be mindful not to overload the shelves beyond their weight rating.
3. Narrow Pull‑Out Pantry Built Into a Side Wall
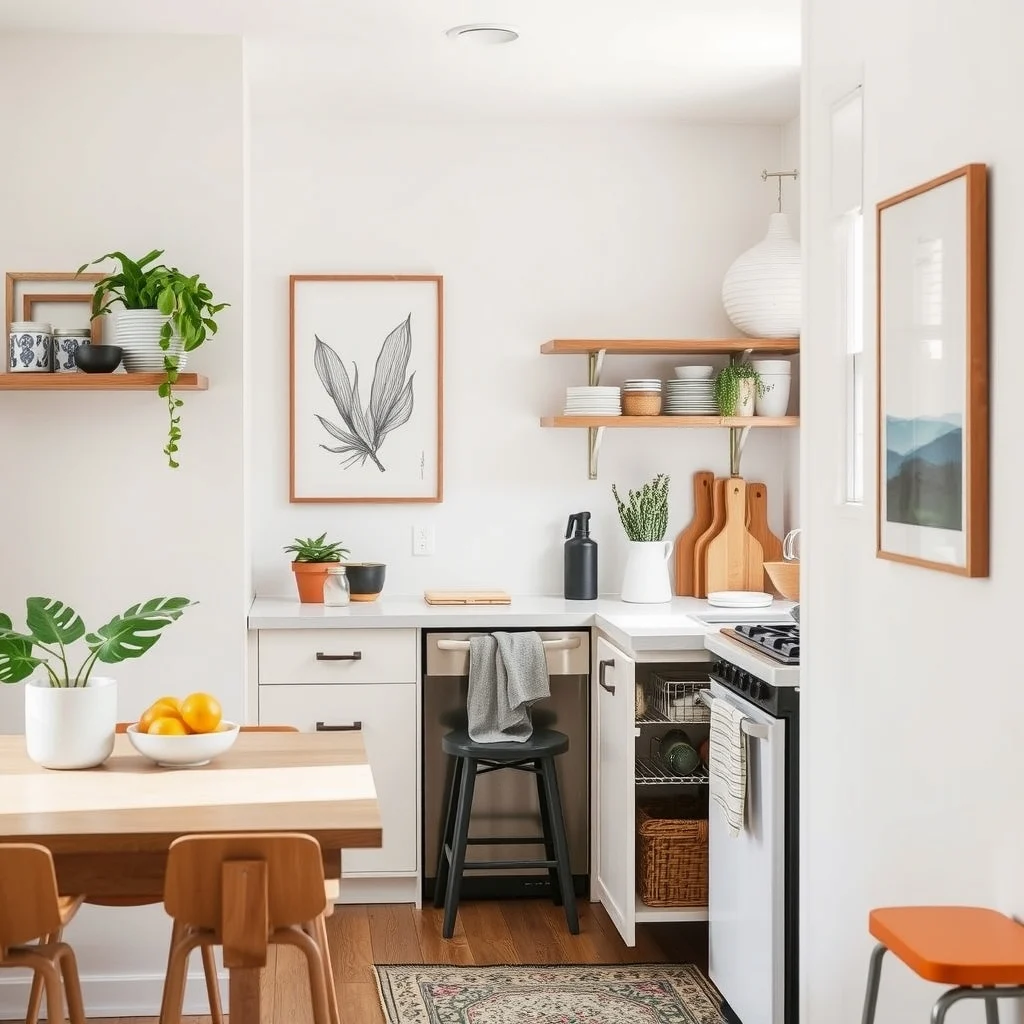
When floor space is at a premium, a slim pull‑out pantry can store dry goods without intruding on the cooking zone. A cabinet width of ten to twelve inches fits between the fridge and a wall, and a pair of smooth gliding runners let the unit slide out fully. Inside, install adjustable dividers that can accommodate cereal boxes, canned goods, and small appliances like a coffee maker.
The pantry’s front can be finished with a matching veneer or a contrasting painted panel to add visual interest. Because the pantry is recessed, it does not interrupt the flow of movement, and the door can be left open while you’re cooking to act as an extra shelf. If you prefer a more open feel, replace the door with a simple metal mesh panel that still keeps dust out while showing the contents.
4. Ceiling‑Mounted Pot Rack Combined with a Hanging Fruit Basket
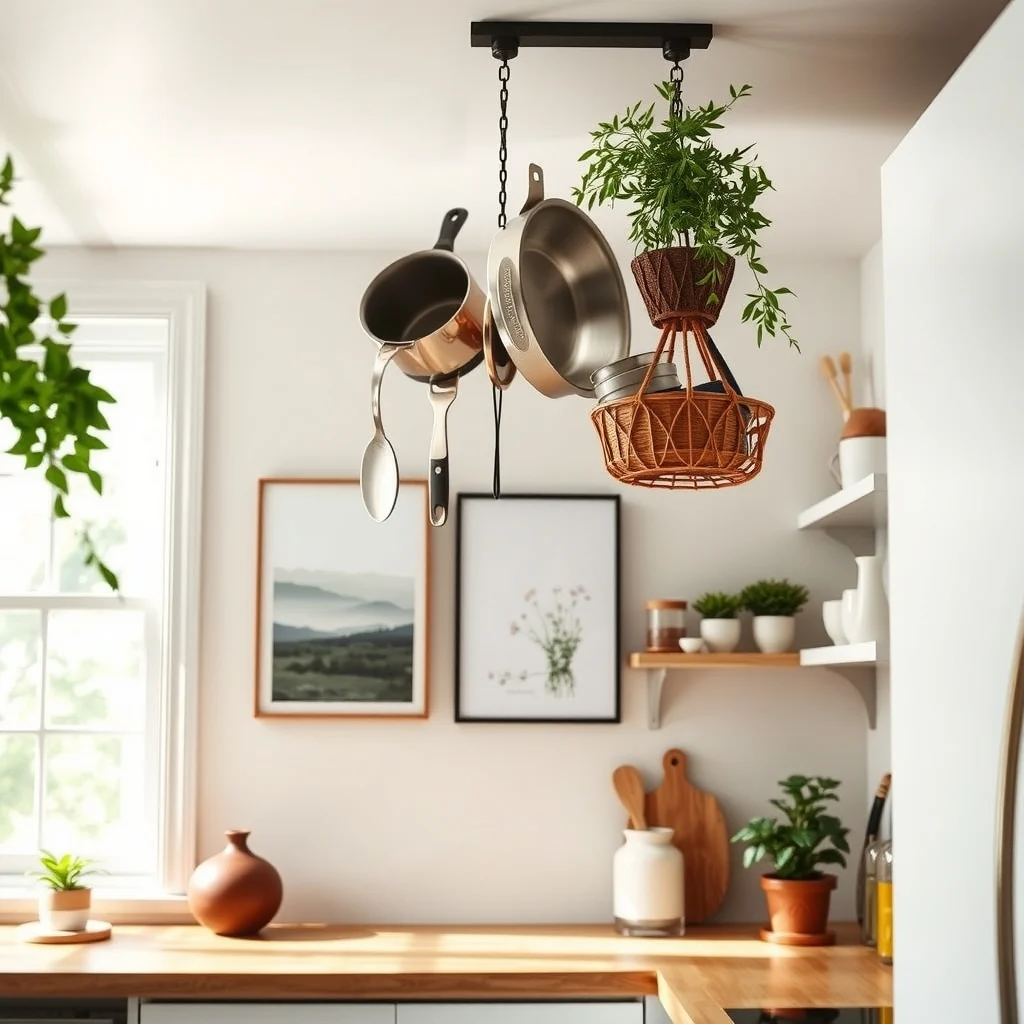
Freeing wall space is as simple as moving storage upward. A sturdy pot rack suspended from the ceiling by a few robust chains or rods can hold a selection of pans, lids, and even a small Dutch oven. Choose a finish that echoes other metal accents in the kitchen, such as brushed brass or matte black, to create continuity.
Below the rack, hang a woven fruit basket at a height that allows you to reach apples or citrus without bending. The basket’s natural fibers introduce texture and keep fruit visible, reducing waste. This vertical arrangement works well in kitchens with high ceilings, and the visual line draws the eye upward, making the room feel larger. If the ceiling cannot support heavy loads, a wall‑mounted version with reinforced brackets offers a similar effect.
5. Appliance Garage Using a Recessed Cabinet with Sliding Doors
Keeping a toaster, blender, or coffee maker out of sight helps maintain a tidy appearance when there is no countertop to hide them on. Carve a shallow recess into an unused wall segment and install a cabinet that runs the width of the appliance. Sliding doors—either wood panels or frosted glass—glide over the front, concealing the devices while still allowing ventilation.
The garage can be lit with a thin LED strip along the interior top edge, illuminating the appliances when the doors open. This approach works especially well in studios where the kitchen shares a wall with a living area; the hidden appliances prevent visual clutter. If you have limited wall depth, a shallow “pocket” cabinet that sits just above the floor can still accommodate most small appliances.
6. Portable Island on Wheels That Doubles as Prep Surface and Storage
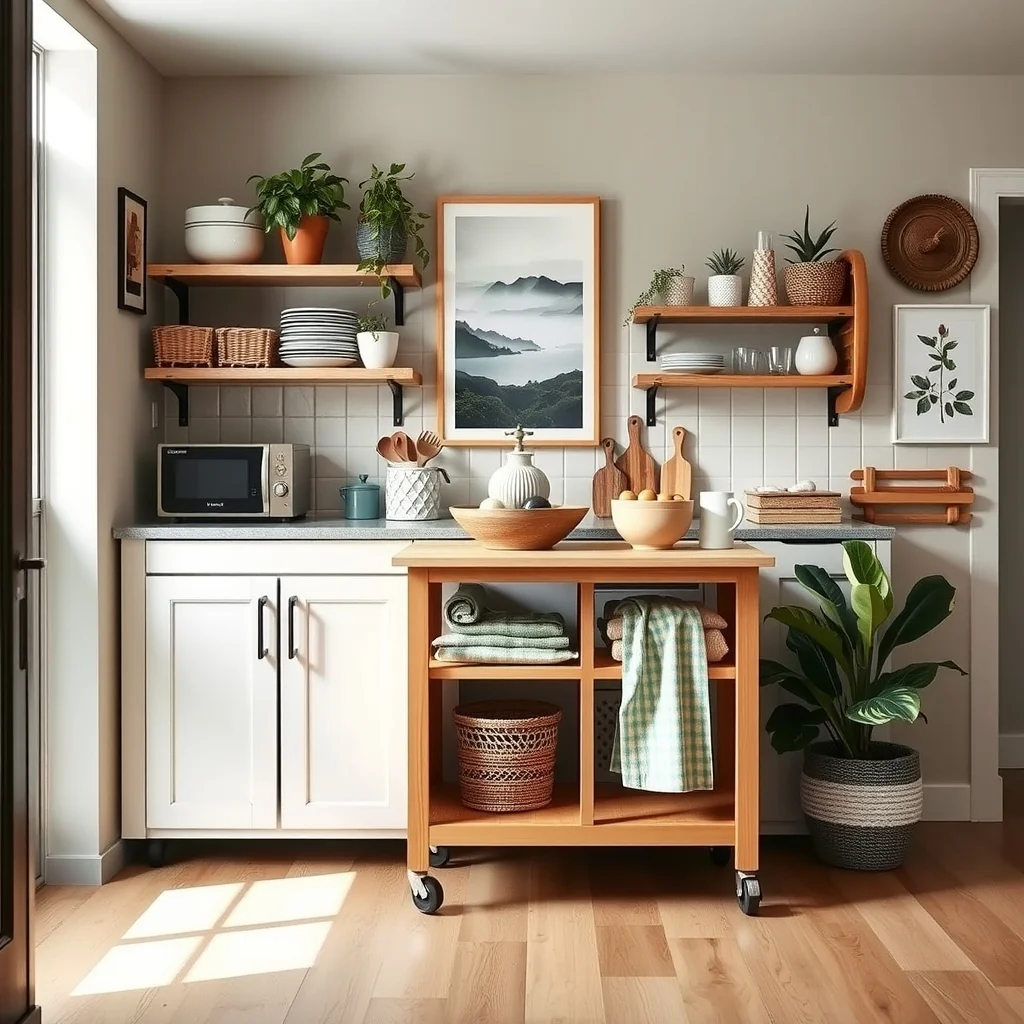
A lightweight island on casters offers a movable work zone that can be tucked against a wall or rolled into a hallway when not needed. Build the island from a sturdy plywood top with a rounded edge, and attach a pair of lockable wheels to the base. Inside, include a couple of shallow drawers for utensils and a small cabinet for a cutting board or a stand‑alone mixer.
The island’s top can be finished with a durable, water‑resistant laminate in a neutral tone, allowing you to place a bowl or a rolling pin without fear of damage. When you’re ready to eat, simply pull the island into the dining area, creating a seamless transition between cooking and gathering. The only compromise is that the island occupies floor space while in use, so it works best in kitchens that have at least a few extra inches of clearance.
7. Light‑Filled Nook Featuring a Rolling Cart and Under‑Cabinet Lighting

Identify a corner that receives natural light and place a narrow rolling cart there. The cart’s shelves can hold everyday items such as a set of knives, a small mixing bowl, and a few jars. Choose a cart with a metal frame and wooden shelves to echo other materials in the kitchen, and add a thin towel rail on the side for quick cleanup.
Enhance the area with a strip of warm LED lighting installed under the nearest upper cabinet. The glow provides illumination for prep tasks without the need for a dedicated countertop lamp. Because the cart can be moved, you can shift it to a different spot if you rearrange the kitchen layout. The flexibility of this setup makes it suitable for renters who need a non‑permanent solution.
FAQ
How can I keep a tiny kitchen feeling open while adding storage?
Use vertical solutions like wall‑mounted racks and open shelving; they draw the eye upward and prevent floor clutter.
Is it safe to hang heavy pots from the ceiling?
Yes, provided the ceiling joists are capable of supporting the weight; using sturdy brackets and checking load limits ensures safety.
What’s the best material for a fold‑down table that will see daily use?
A solid wood top with a protective finish resists scratches and moisture, while metal brackets add durability.
Can a rolling cart replace a traditional island?
A cart offers mobility and can hold essential items, but it occupies floor space when positioned, so ensure you have enough clearance.
How do I hide small appliances without a countertop?
An appliance garage built into a recessed wall or a shallow pocket cabinet can conceal devices while keeping them accessible.
Final Thoughts
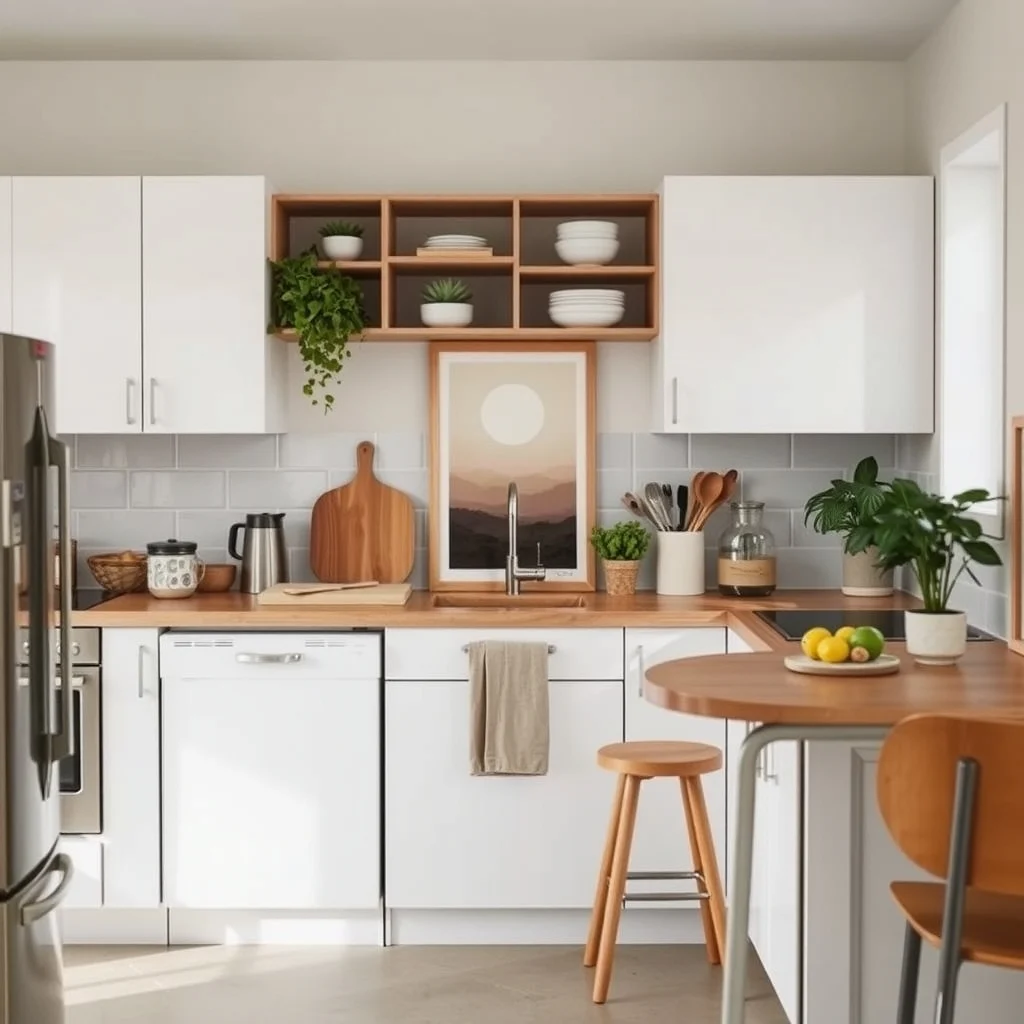
Living without a permanent counter does not mean you must sacrifice functionality or style. By thinking upward, outward, and on the move, you can create work zones that appear and disappear as needed. Each of the seven ideas above adapts to different budgets, rental situations, and personal tastes, giving you the flexibility to shape a kitchen that feels both practical and welcoming. Choose the elements that resonate with your daily routine, and let the space evolve with you.
1 thought on “How to Organize a Tiny Kitchen With No Counter Space”
Comments are closed.